These grilled chicken breasts are always a good idea. I keep a few packages in the freezer of thin chicken breasts , but you can do this marinade with a thicker breast , or use boneless skinless chicken thighs.
Marinade is simple ingredients that can be usually found in one’s pantry but if not easily obtainable. I made the thin breasts and marinated them for about 31/2 hours. At least 40 minutes but no more than 4 hours because they start to break down the fibers of the chicken . You’ll want chicken pieces to be even sometimes I use a rolling pin or the flat side of a meat mallet.
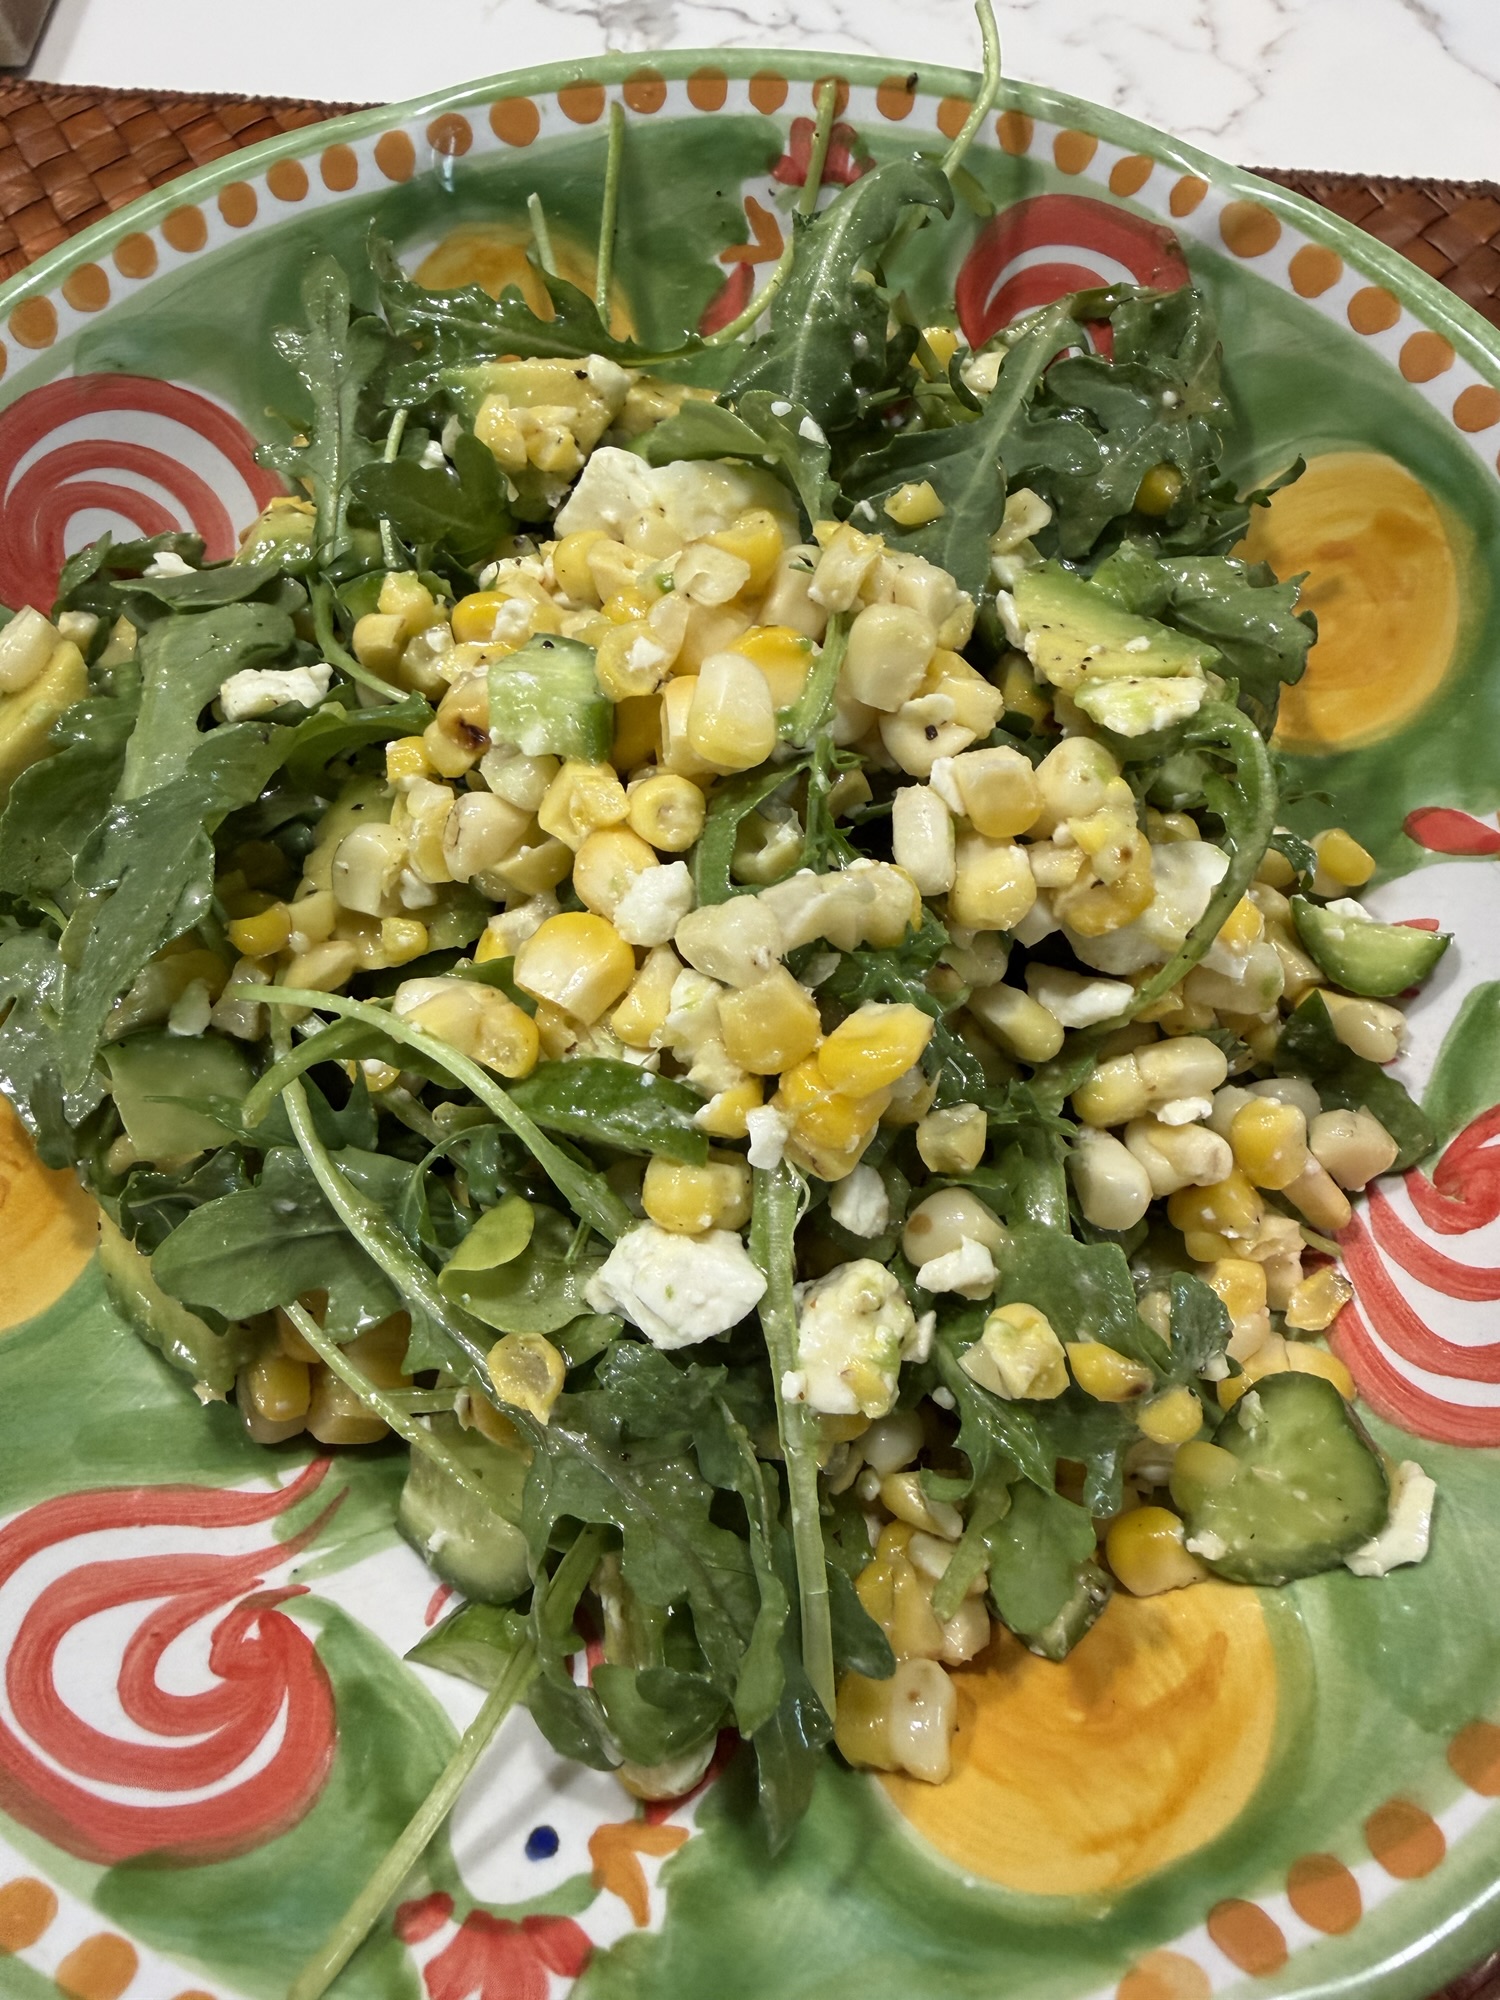
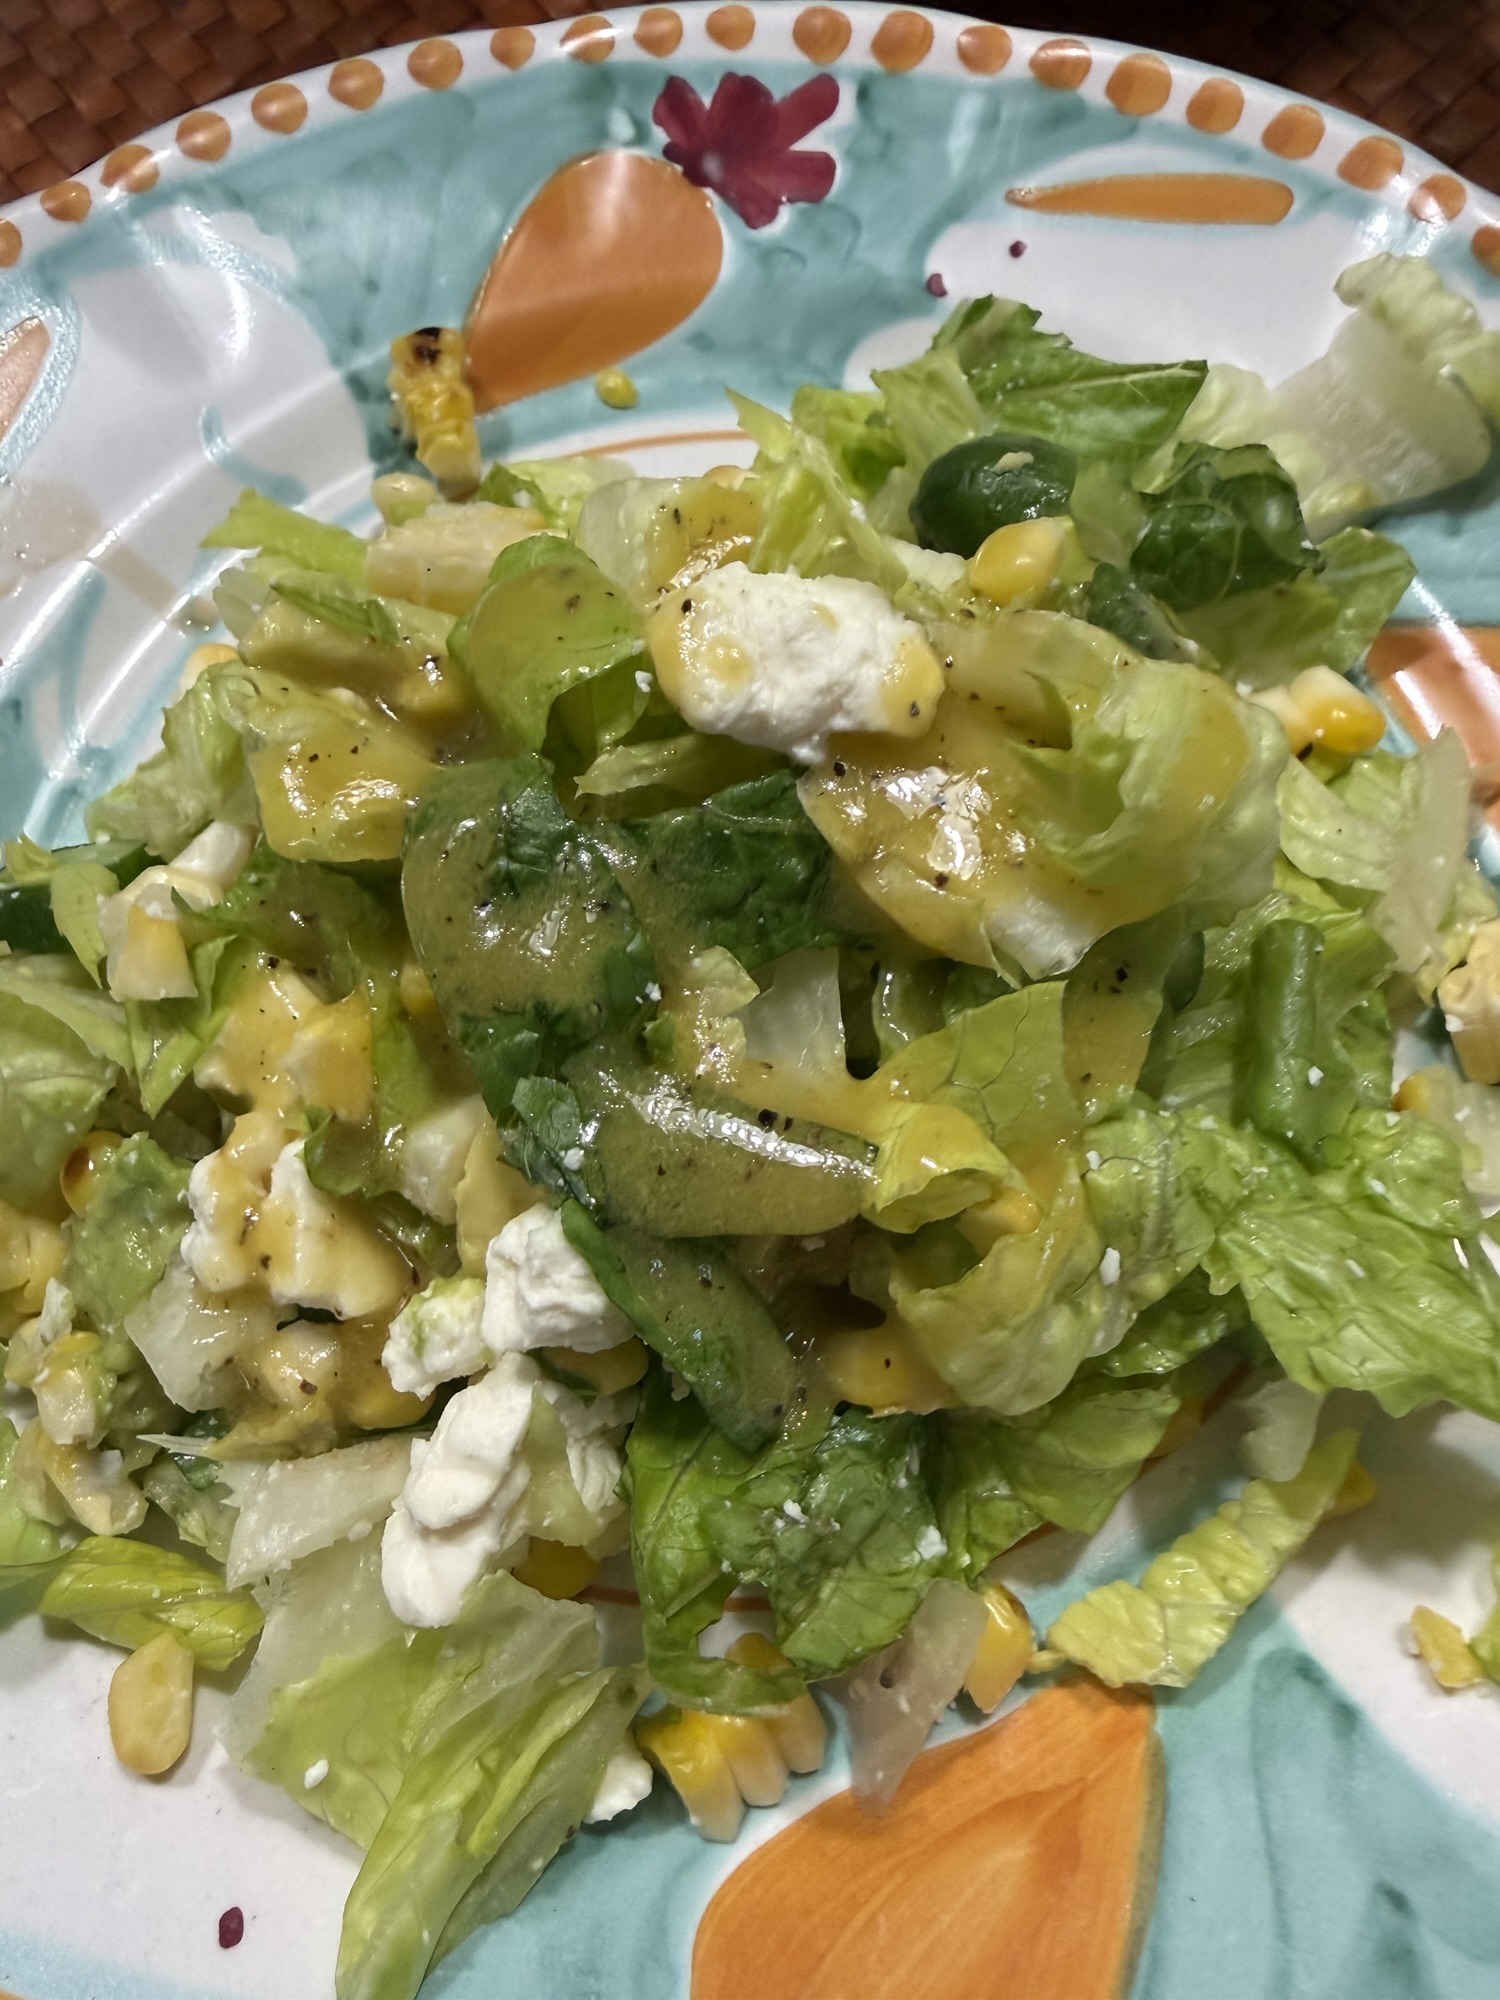
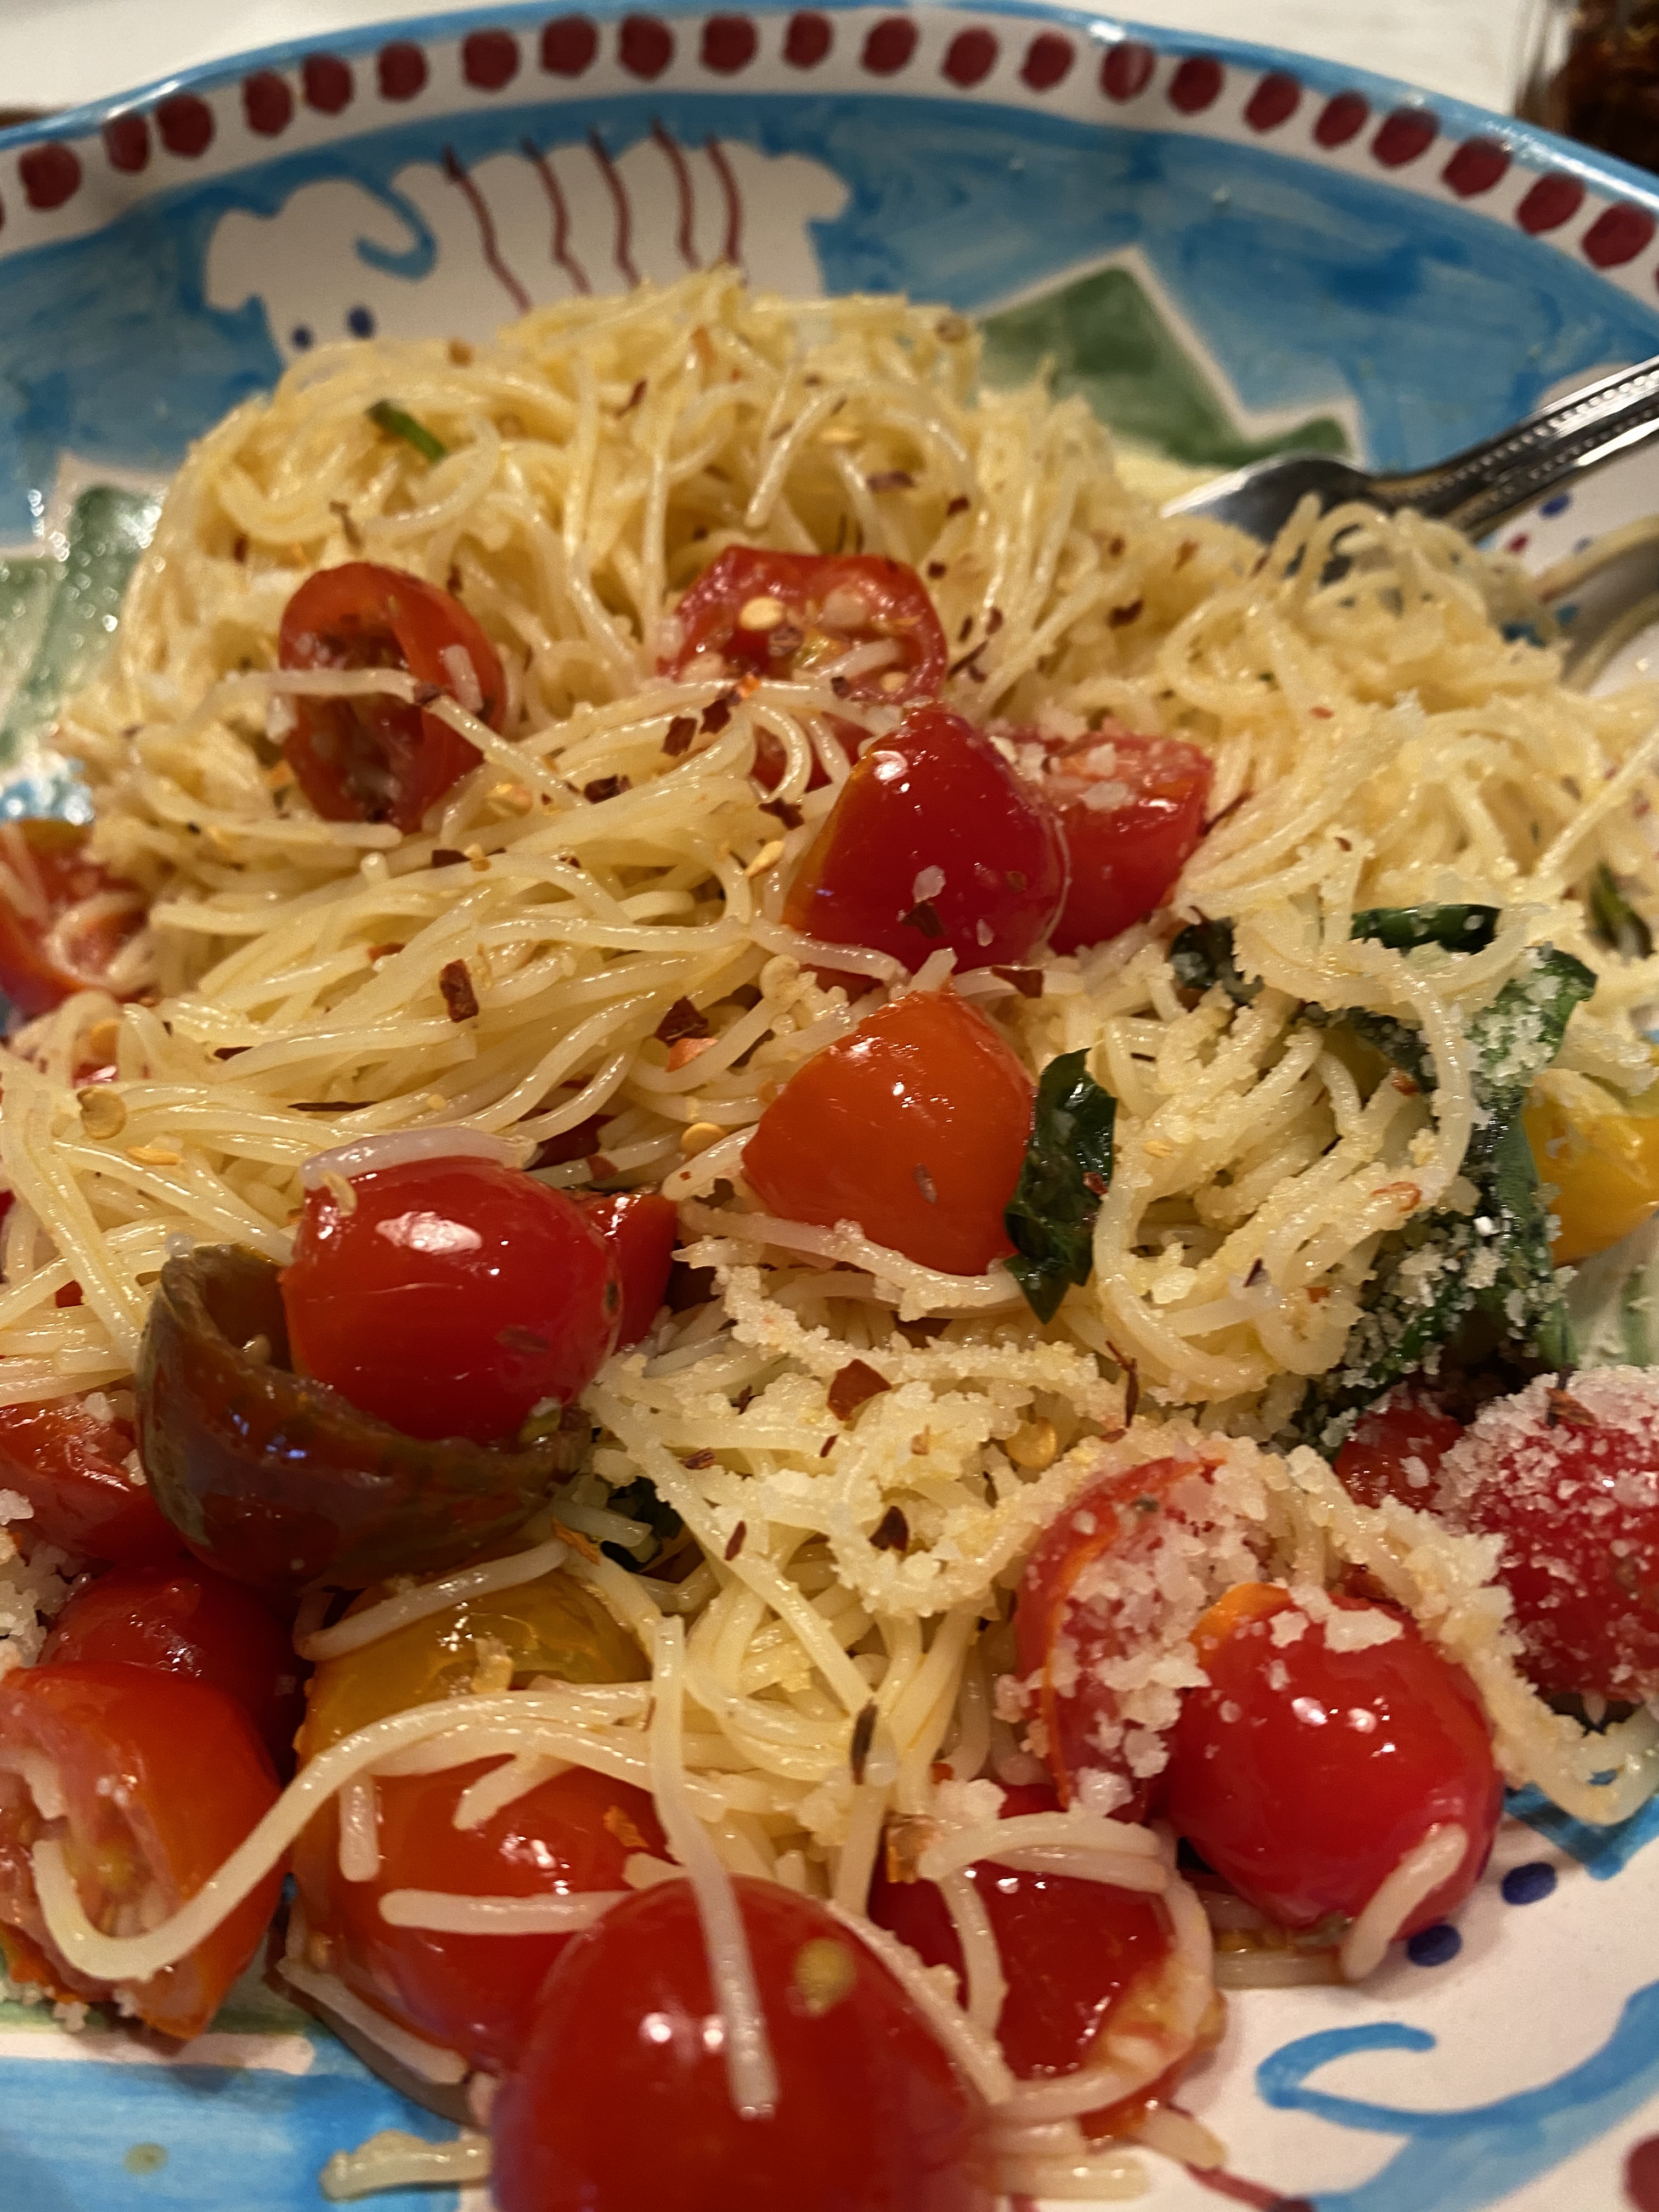
Awesome served for dinner with some spinach and some corn on the cob but obviously very delicious the next day or day of in a salad.
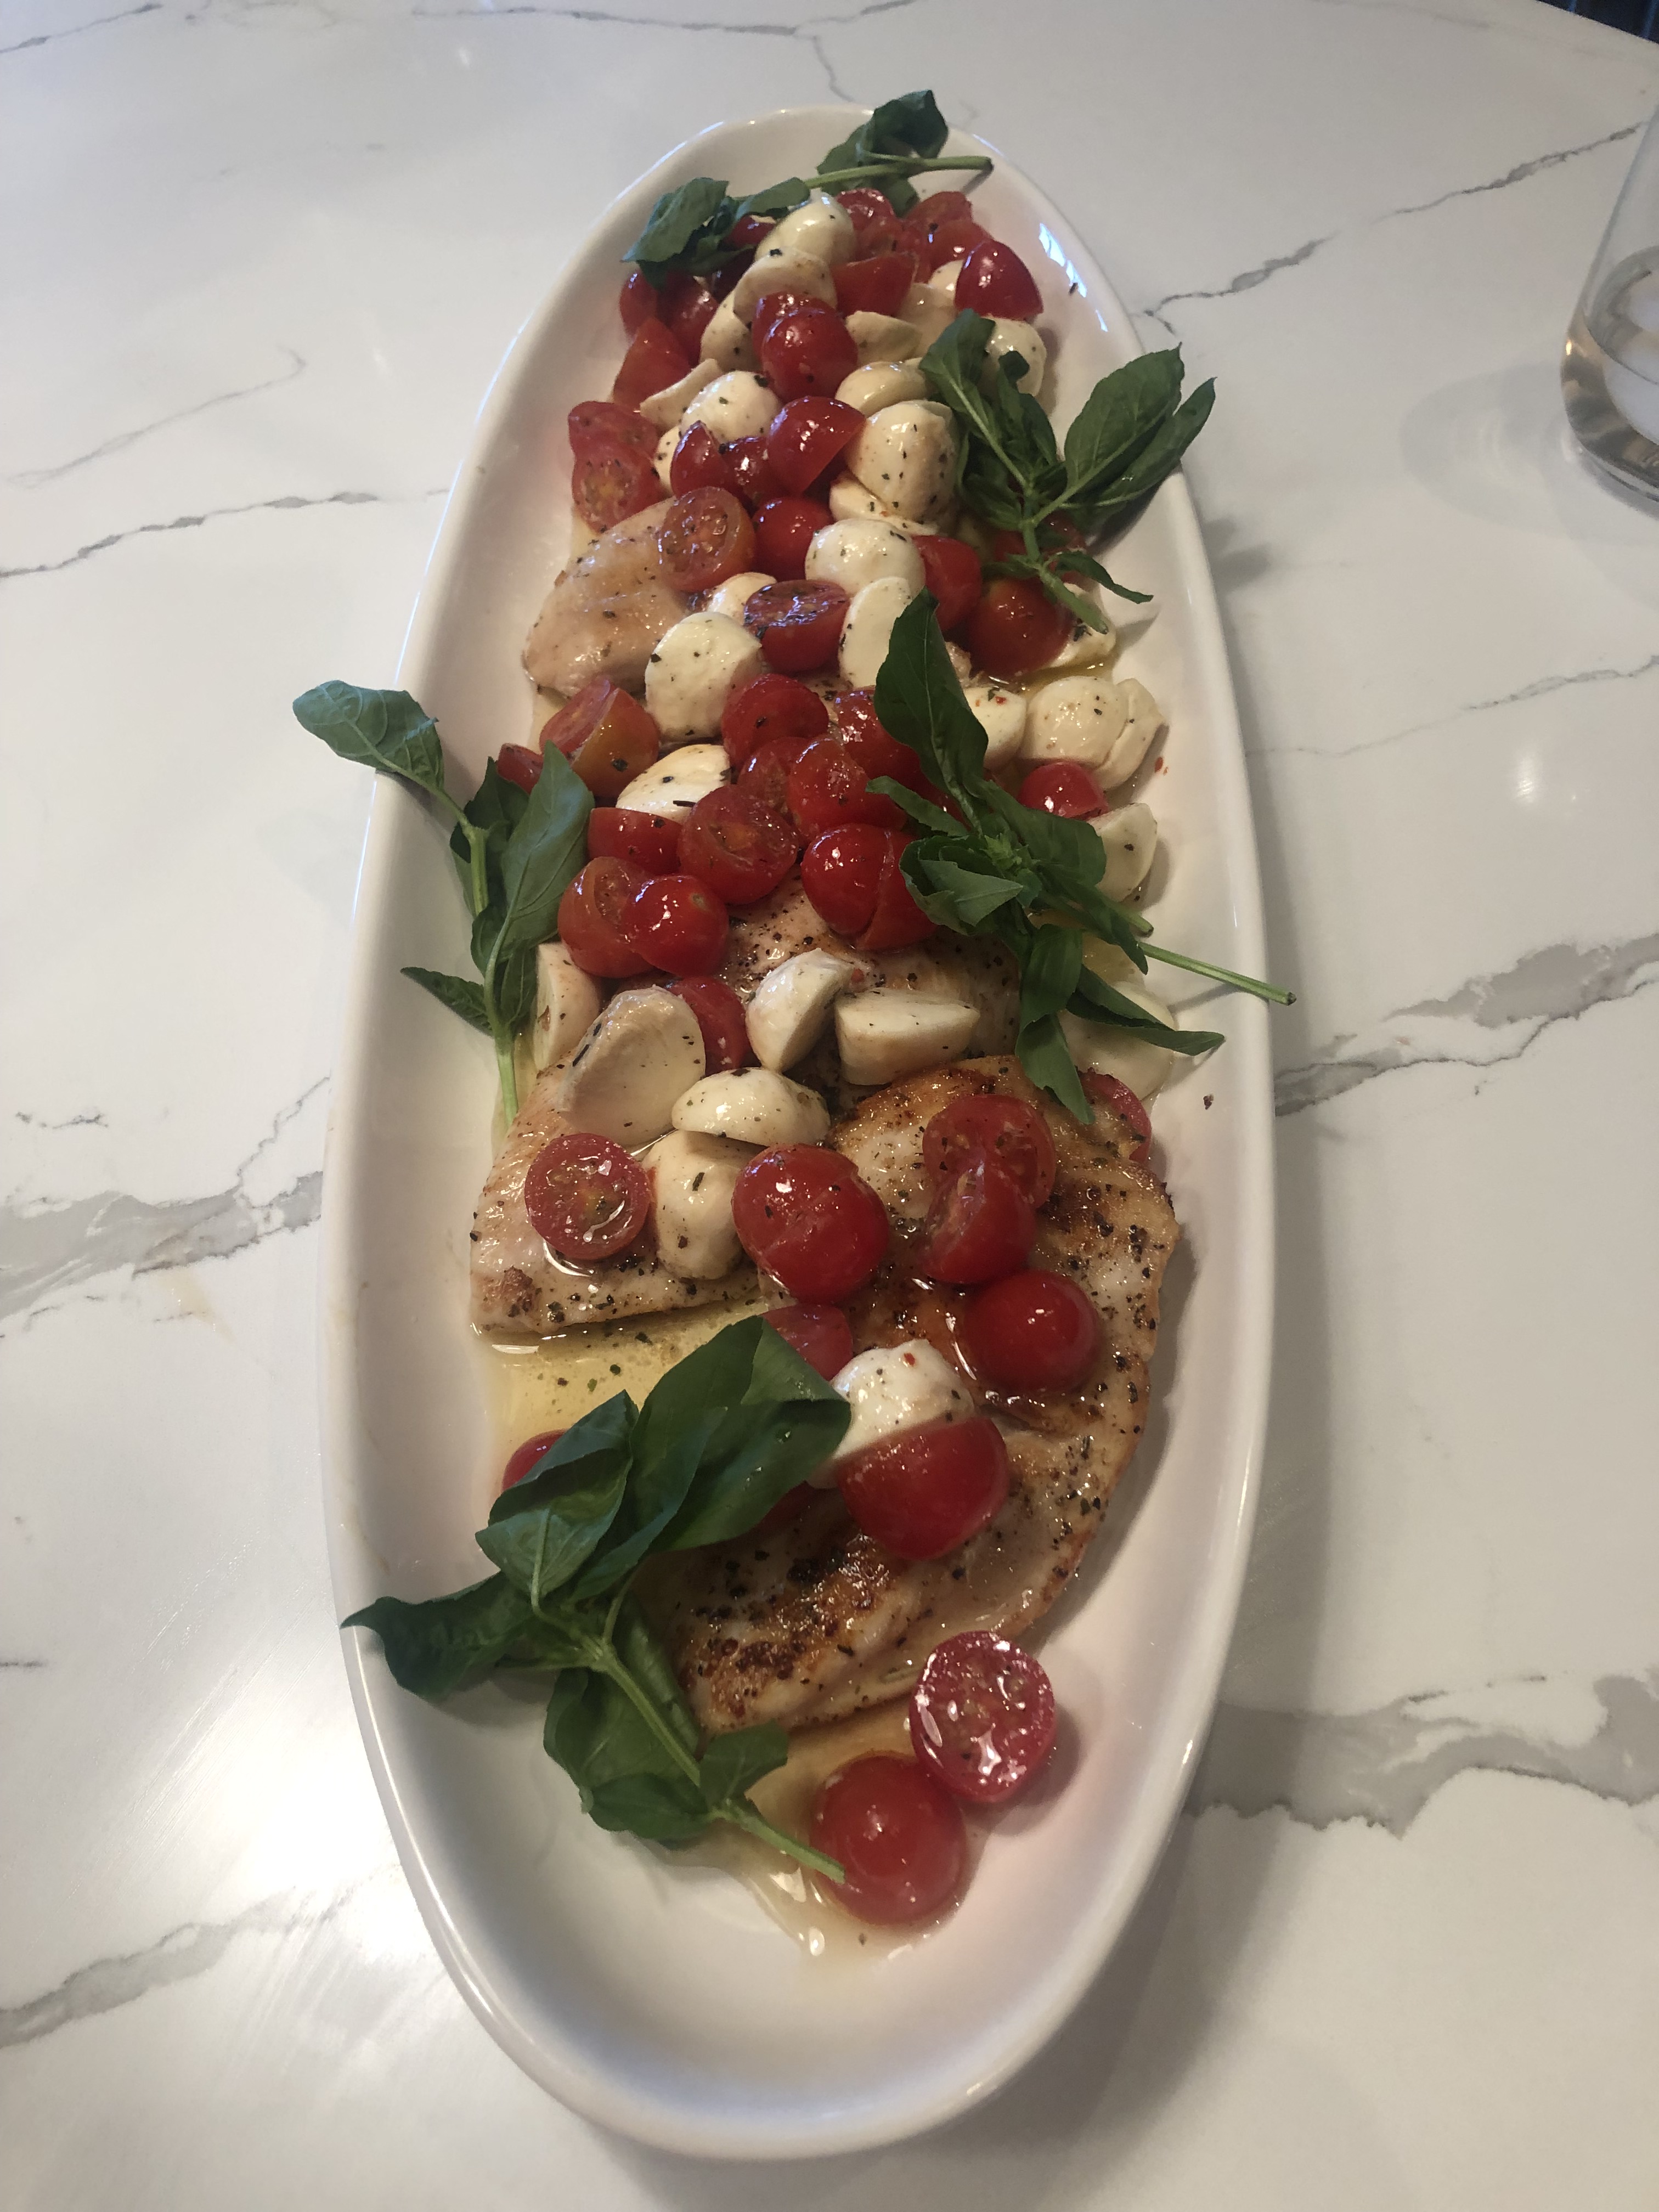
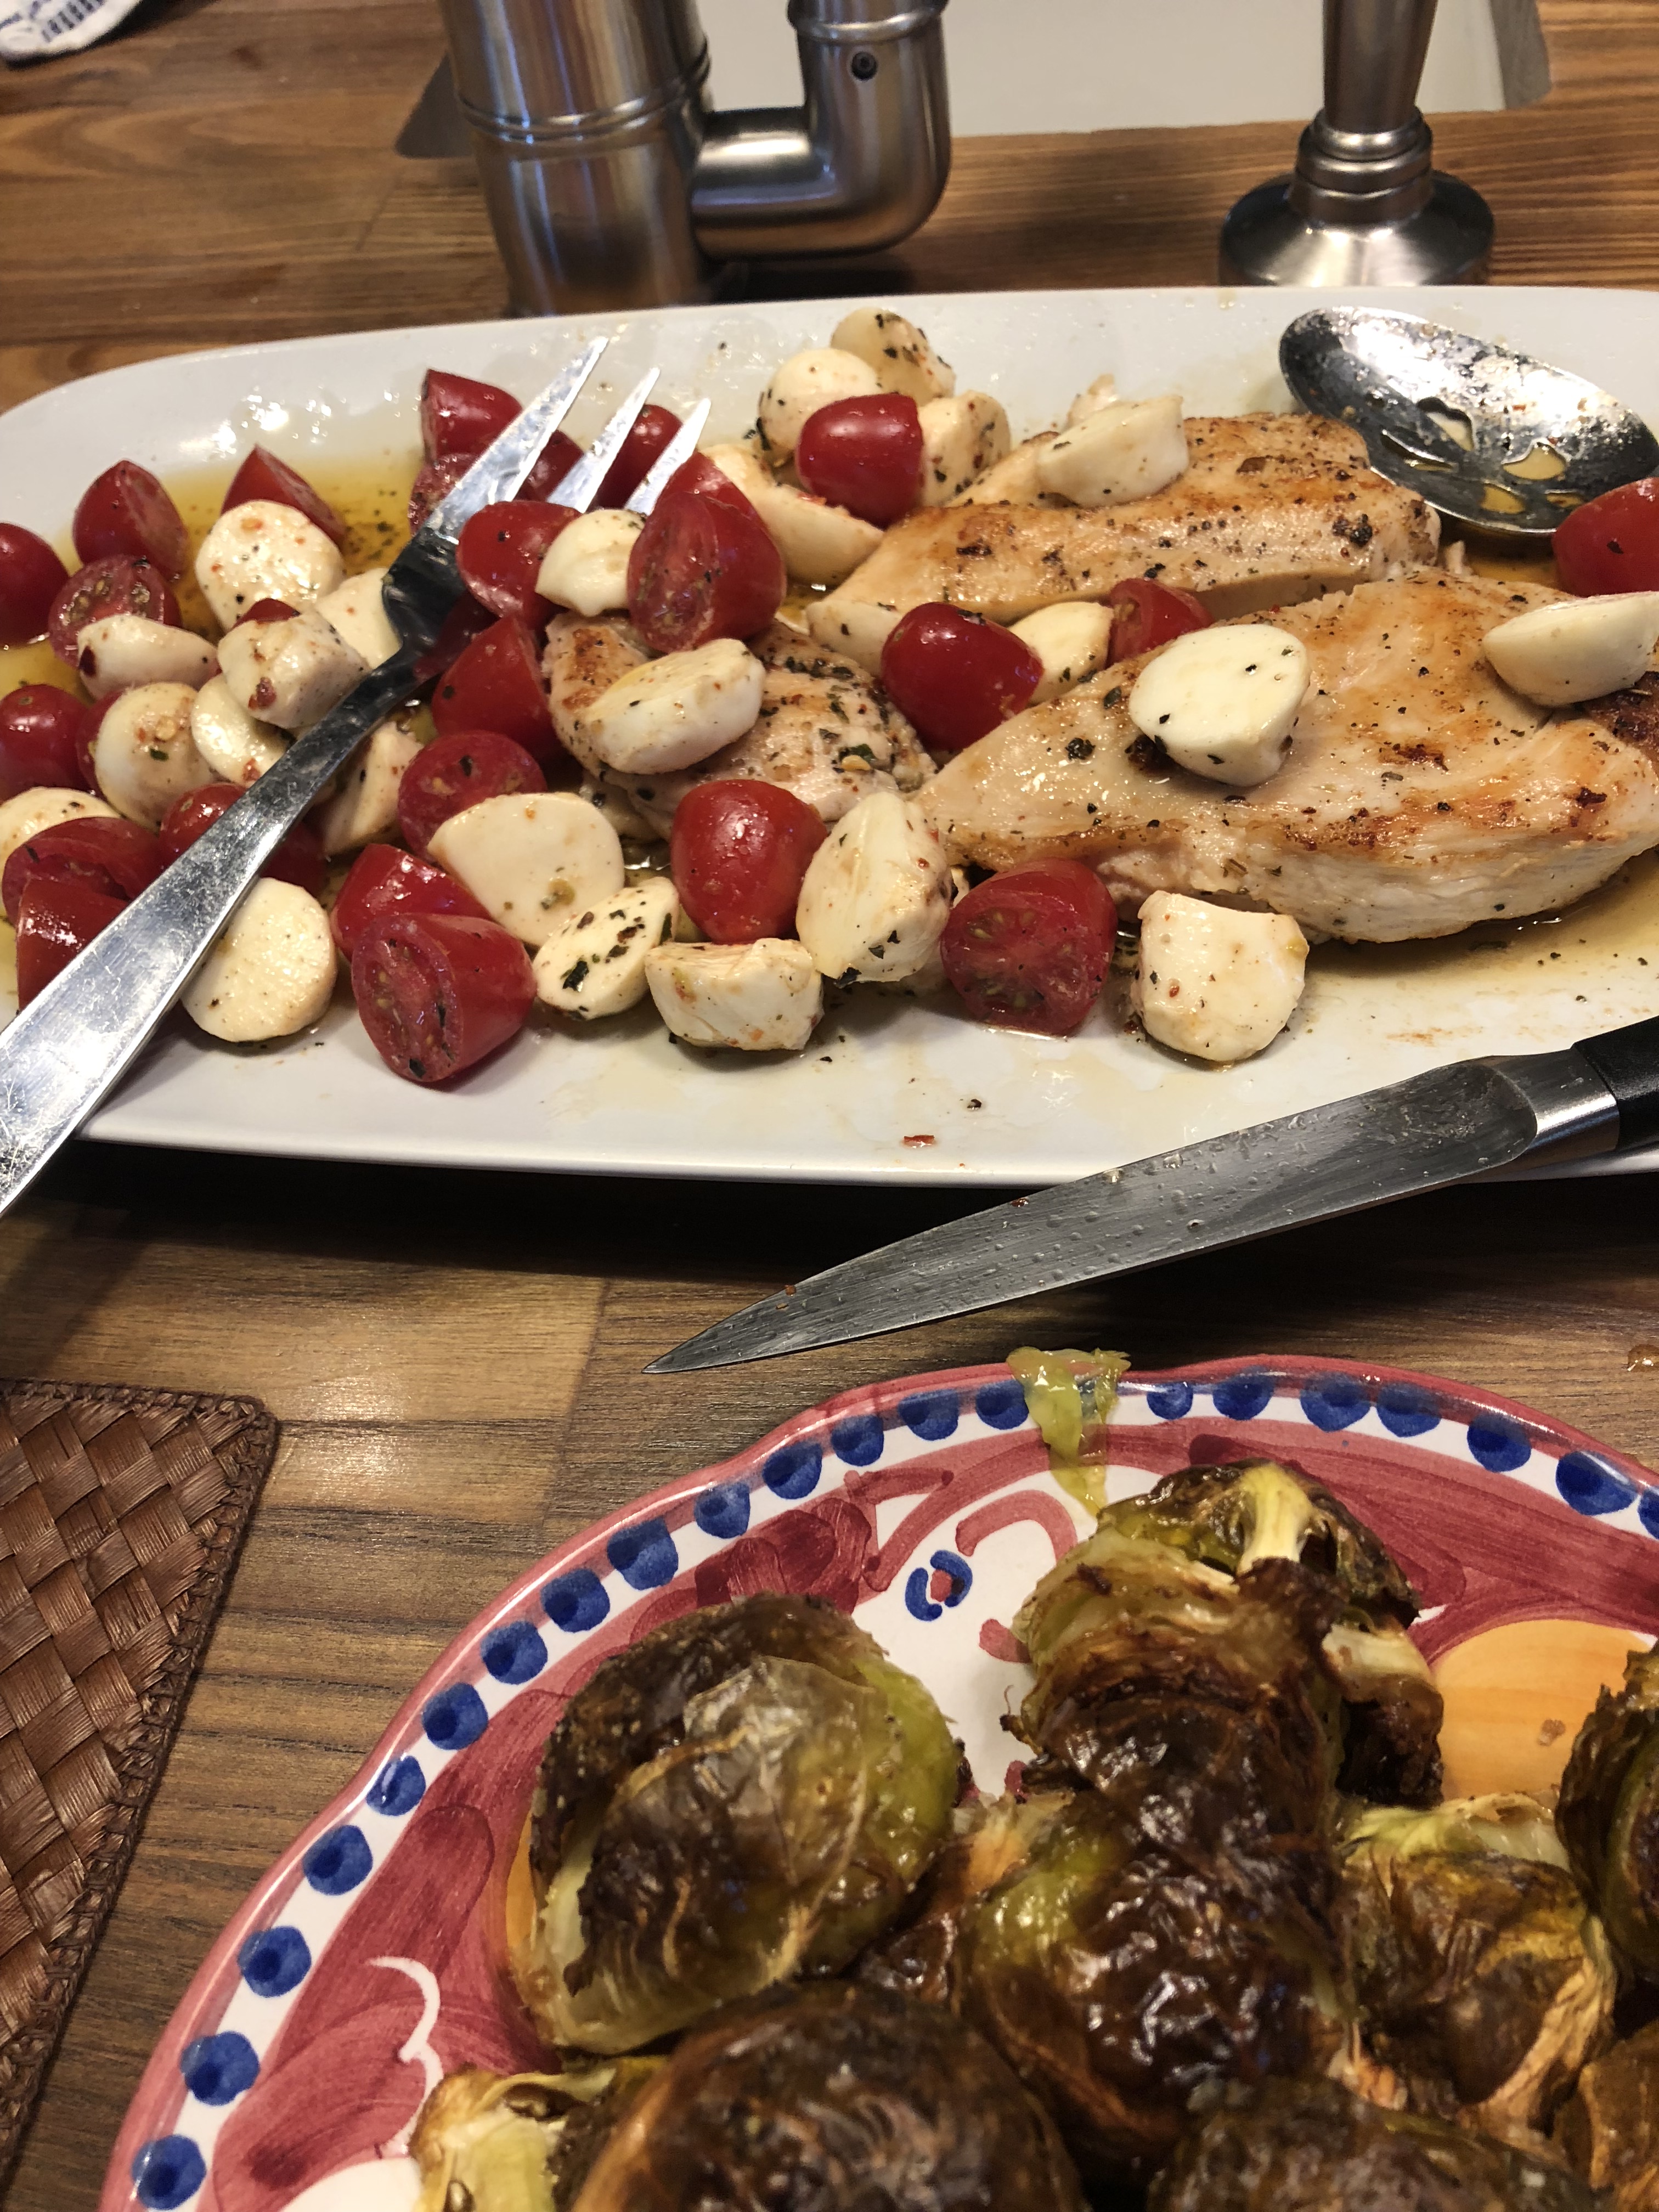
And really delicious the next day cold out of fridge, perfect for a picnic.
Enjoy!
Ingredients:
I used about 2 lbs. thin chicken breasts, this marinade will be good for up to 4 lbs.
1/3 cup olive oil
1/4 cup apple cider vinegar or red wine vinegar
3 Tablespoons Worcestershire Sauce
2 heaping Tbsp. Dijon Mustard
2 Tablespoons fresh lemon juice –probably juice of 1 juicy lemon
2 Tablespoons Italian Seasonings — dried and available in every supermarket
2 teaspoons kosher salt
1 tablespoon black pepper
1 teaspoon granulated sugar ( it’s just a teaspoon and it makes a difference)
Directions:
I like to combine all marinade ingredients in a large measuring cup. I whisk it up and then combine chicken and marinade in a large plastic freezer bag and up to 4 hours marinate them if I can. If not at least 40 minutes.
Preheat grill to medium heat — I spray my grill with Pam Grill Spray bring it to medium high heat and add chicken, allowing any excess to drip off . Discard the remaining marinade , this is why I love the baggie. Place chicken on the grill for 7-8 minutesI watch it carefully the very thin pieces barely need 7-8 minutes, just watch them — no one likes to eat burnt chicken. Flip chicken over and it should be done in another 7 minutes depending on the size of the chicken pieces.
Transfer to a plate and let rest before slicing.
Your welcome for this delicious marinade recipe that I promise you you will cook over and over again.


 Wow–Fajitas on the Grill and the best part is there were no pots and pans to clean up! Cooked in Aluminum Foil Packs right on the grill! They’re called Hobo Packs. This is so easy to make and so delicious to eat. Definitely one of our favorite go to meals in the summer. If you don’t have a grill you can make in the oven on a large rimmed baking sheet.